Simulator
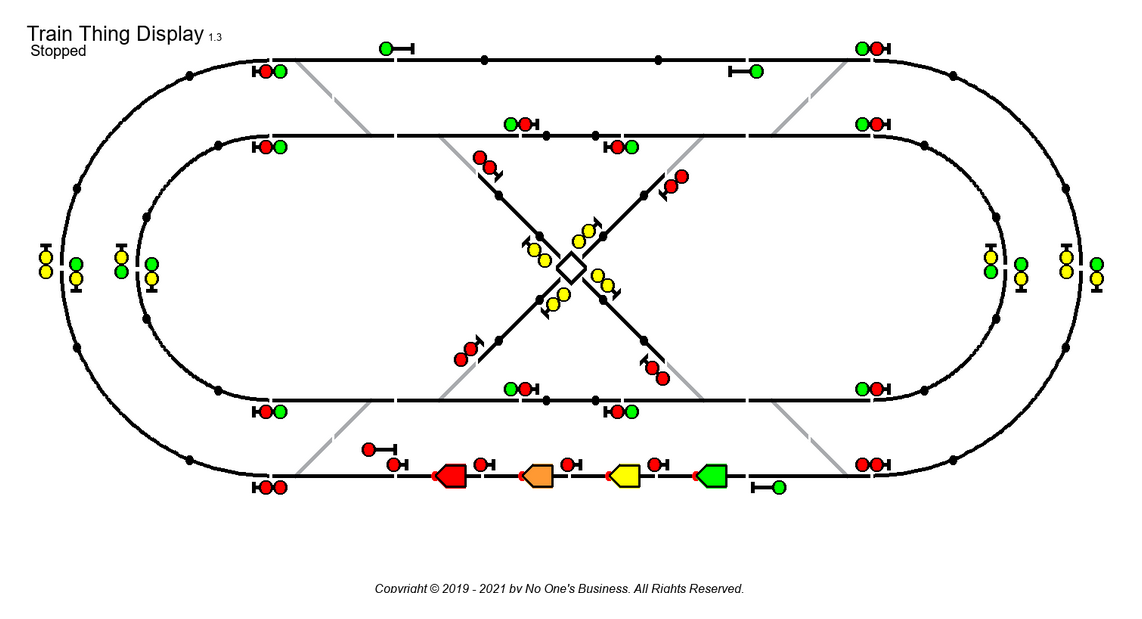
Starting from the genesis described in the introduction the software simulation of the TrainThing layout is shown in the following graphic with the track divided into sixteen blocks with signals at each end, twelve switches (turnouts), and four colored "trains" in the 'staging yard'. All the turnouts are shown set to the "cleared" position.

The simulator software is divided into three php/html programs:
- Initialize (index.php). This program provides the main GUI to initialize the simulator and setup a simulation run. This program spawns the Display program (#3) in a second window and calls the Main loop (#2) when the user has configured a simulation.
- Main Loop (train_loop.php). The main loop moves each train to and around the path selected, and then back to the staging yard. During the simulation a graphics file is generated depicting the changing state of each train, turnout and signal. When the simulation ends or is aborted control is returned to the initialization program (#1).
- Display (display.html). This is a simple html page that displays, in a second browser window, the graphic generated by #1 or #2 above. The page has a short, 2 second, refresh rate to re-display the graphic as it is updated by the main loop, #2.
Originally the software simulator was the objective. The development was intended to be amusement for me during long snowy winter nights. The development of the GUI kind-of evolved as I keep finding things I wanted to include for troubleshooting or options. At some point I added a second computer screen so I could see the program output and the IDE. When I decided to actually build the hardware the clunky nature of the simulator, which was for me only, became less than secondary after the real hardware and controlling software described in the majority of this document. The GUI was cleaned up enough to run on a public facing website and documentation was added.
When the simulator is started and the second window created the display should be adjusted to look similar to the following image. When <Run Train(s)> is clicked the main loop uses the left window to display some status information and present one or two control buttons while the graphic on the right is repeatedly updated.

